DIY Your Own Easter Bud Vase
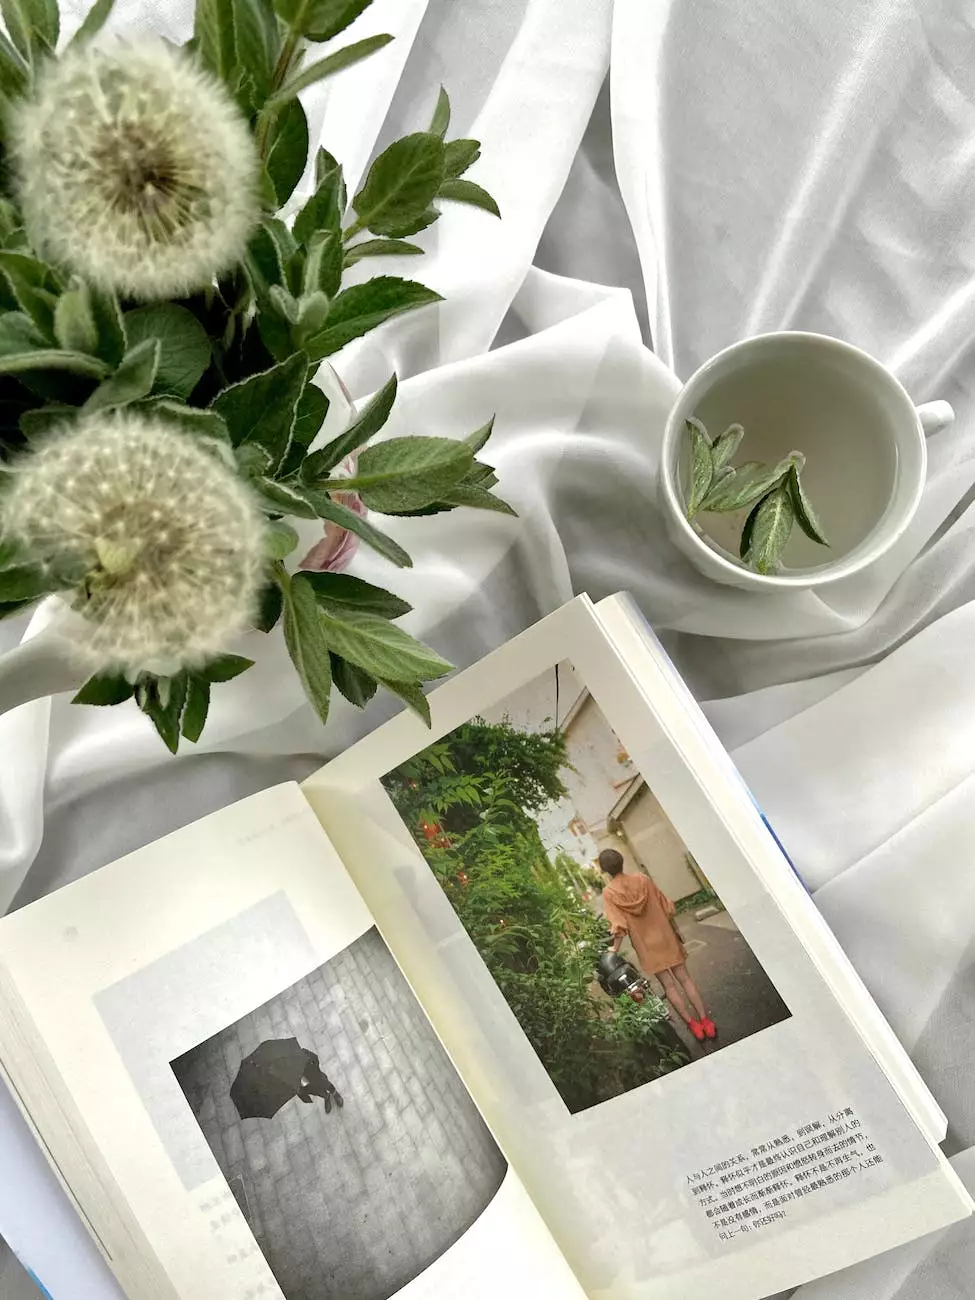
Welcome to Barbaras Flowers Day, your go-to destination for all things floral! In this tutorial, we'll show you how to create your own stunning Easter bud vase, adding a touch of spring to your home decor. With our step-by-step guide, you'll discover the joy of crafting your very own floral masterpiece. Let's get started!
Materials Needed
- A clear glass vase
- A selection of fresh flowers
- Floral tape
- Green floral wire
- Decorative ribbon
- Scissors
- Water
Step-by-Step Tutorial
Step 1: Choose the Perfect Vase
Start by selecting a clear glass vase that suits your personal style and complements the colors of your Easter decor. The vase will serve as the foundation for your stunning bud vase arrangement.
Step 2: Prepare Your Flowers
Gather a variety of fresh flowers that capture the essence of spring. Consider incorporating seasonal blooms such as tulips, daffodils, or lilies. Trim the stems to fit the height of your vase and remove any excess foliage.
Step 3: Create a Grid
Using floral tape, create a grid-like pattern across the opening of the vase. This will help to support and arrange the flowers evenly. Be sure to press the tape firmly against the glass to secure it in place.
Step 4: Arrange Your Flowers
Begin placing your flowers within the grid, starting with the larger blooms first. Insert the stems at an angle to create depth and dimension. Experiment with different color combinations and textures to achieve a visually appealing arrangement.
Step 5: Add Greenery
Introduce greenery, such as ferns or eucalyptus, to fill in any gaps between the flowers. This will add a touch of elegance and create a well-balanced composition. Trim the greenery stems accordingly and tuck them into the grid.
Step 6: Enhance with Floral Wire
If desired, use green floral wire to wrap around specific stems or groups of flowers. This will provide additional support and help to secure the arrangement.
Step 7: Final Touches
To complete your Easter bud vase, wrap a decorative ribbon around the neck of the vase, tying it in a bow for a charming finishing touch. Fill the vase with water to nourish your flowers and keep them looking fresh.
Bring a Touch of Spring to Your Home
With your DIY Easter bud vase complete, find the perfect spot in your home to showcase this delightful creation. Whether as a centerpiece on your dining table or as a decorative accent on a mantel, your handmade bud vase will bring a touch of spring joy to any space.
At Barbaras Flowers Day, we believe in the power of creative expression through floral arrangements. We hope this tutorial has inspired you to embark on your own DIY project and discover the joy of creating something beautiful with your own hands. Join us for more exciting floral tips and ideas on our website and social media platforms!
Note: Remember to change the water in your vase regularly to ensure the longevity of your fresh flowers.

